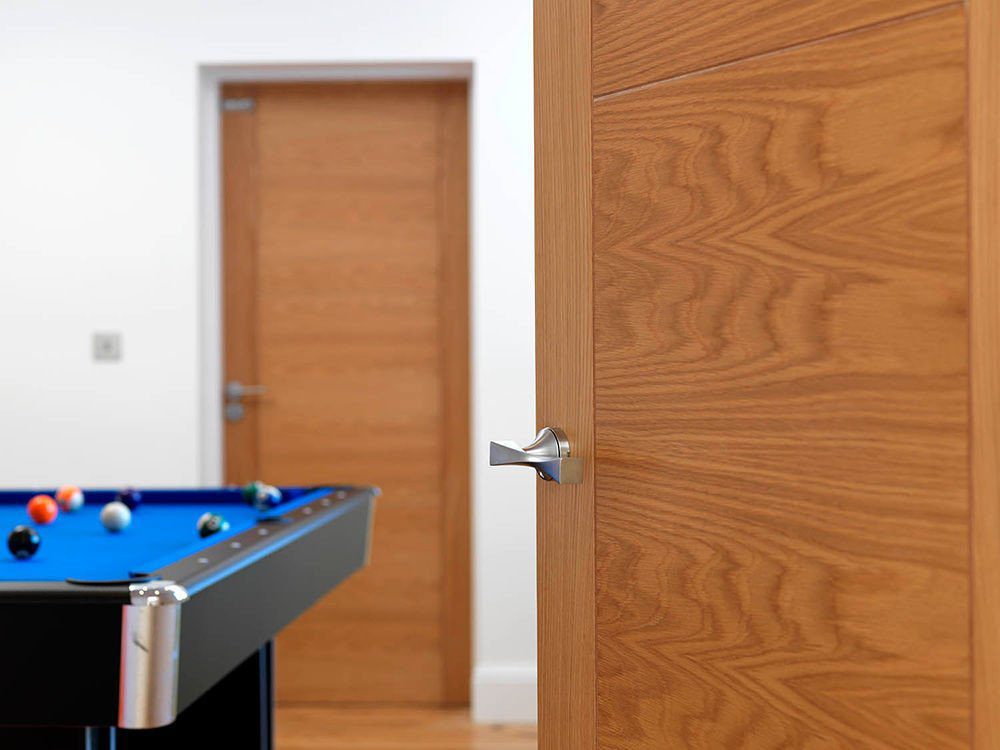
How to Fit an Internal Door
A Step-by-Step Guide to Hanging Your Internal Door
We strongly advise against the installation of all types of timber doors into buildings with recently plastered or screeded areas. Wet sites within enclosed unheated buildings represent an extremely detrimental environment and must be thoroughly dry, without condensation, before doors are introduced.
Make sure you’re ordering the right standard door size for your frame – our size guide has the full UK breakdown.
- Door Seal Treatment
- Varnish
- Pencil
- Plane
- Saw
- Chisel
- Electric Drill
- Screwdriver
Step 1: Remove Door From Packaging
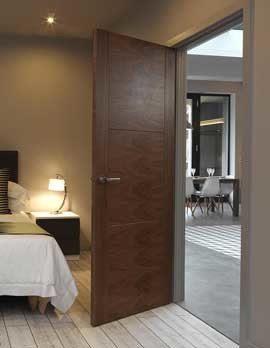
Remove the door from its packaging and put it into the frame.
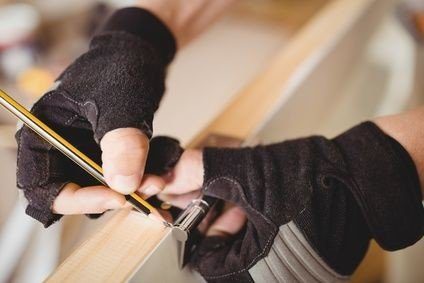
Step 2: Mark Door Trimming
If you need to, mark the door where it needs trimming. If only a small width reduction is required, trim from the hanging edge. For larger reductions, trim equally from both sides. If you think that you’re going to have to trim the door a great deal to make it fit then please ask us for some advice, none of our doors are designed to be reduced excessively.

Step 3: Reduce Door Size with Sharp Plane
Carefully reduce the door using a sharp plane, or for larger amounts an appropriate saw. Take care to work evenly and avoid splintering on the top and bottom edges, particularly where components join together.

Step 4: Mark Position of Hinges
Once the door is correctly sized, mark the position of the hinges. Always use three good quality hinges incorporating steel washers. Wooden doors are heavy and washered hinges will offer the longevity that you need.
Step 5: Cut Hinge Plates
Using a sharp chisel, cut out a space for the hinge plates in the door edge, to correspond with those in the frame.
Step 6: Affix Door Hinges
Affix the hinges and put the door into the frame, attaching the remaining hinge plate within the corresponding cut out in the frame.

Step 7: Install Latch & Lock Mechanism
Fix the latch or lock mechanism to the door edge in the appropriate position. Most locks or latches will be supplied with templates to indicate their correct position upon the door’s edge. In the case of panelled doors, take care to avoid rail joints as this will significantly weaken the door.

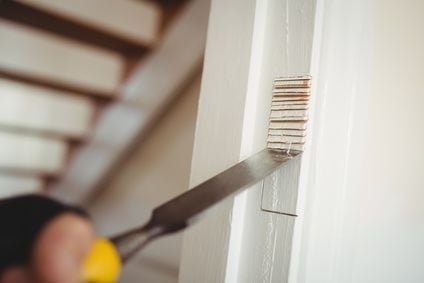
Step 8: Sealing Internal Doors
Internal doors should be fully sealed with an appropriate treatment to prevent the free passage of moisture both into the door from within the property as well as to guard against the door losing moisture in a warm environment.
Step 9: Maintenance & Appropriate Varnish
Many of our internal doors are supplied pre-finished. During the course of their installation bare edges are often exposed when planing. It is vital that these exposed areas are resealed with an appropriate varnish to ensure that the door is adequately protected against the free passage of moisture.