Internal Door Care
Storing your internal doors
Before you fit your doors, you need to make sure you store your doors flat, fully supported off the floor with at least three full-width bearers of the same dimension. Avoid anywhere that might be too humid or too dry and store in a well-ventilated area with their protective packaging intact.
Before fitting your internal doors
You need to make sure that your door is fully sealed before you hang it. Many of our doors come fully finished, however, if you’ve purchased an unfinished or primed door you will need to finish the door with your chosen paint or varnish.
Make sure that you sand all surfaces to remove any nibs or finger marks both before painting/varnishing and then again between coats.
There are numerous wood finishes/sealants on the market and we would advise investing in a quality solvent based finish that reflects the high quality of the door and has real sealing properties. You’ll need to avoid any water-based finishes and also Danish oil which is not suitable as a finish on any of our products.
And of course, don’t miss any part of the door out in your finishing regime – check all the edges and any cut-outs to make sure they are all covered, even if you’re not going to physically see them when the door is hung.

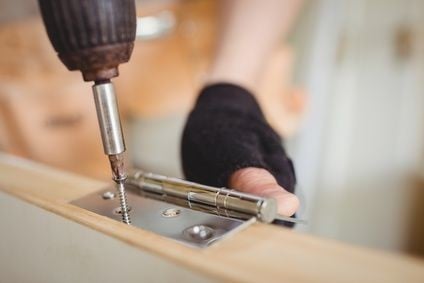
Fitting your internal doors
If you’re able to, always use a professional wooden door fitter. This will ensure that all of your doors are fitted to an excellent standard by a qualified professional.
If you’re fitting the doors yourself, please refer to our installing internal doors guide but take note of the following before you begin:
Don’t fit a door into any area that has been recently plastered or screeded. Because there will be moisture present in such areas it can lead to a door swelling, twisting or bowing. Fitting your doors too soon will leave them vulnerable to the elements and may drastically affect the operation and look of your doors.
Maintaining your wooden doors
As with any other aspect of a home, you’ll need to keep an eye on your doors for wear and tear. Making sure the finish of your doors is not worn or doesn’t need a refresh in places is vital to ensure the ongoing life of your door. Reapplying paints or varnishes can make a real difference to the life and look of your doors. Often sealants will come with suggested time periods within which it should be refreshed, so take a look before you discard your varnishes, sealants, or paints to make sure you know when to diarise a touch-up or two.
For more information, please download our Essential Door Care & Maintenance Advice
The British Woodworking Federation factsheet Care of Timber Doors also offers good practice guidelines.
How to Maintain Your Internal Doors
As with any other aspect of a home, you’ll need to keep an eye on your doors for wear and tear. Making sure the finish of your doors is not worn or doesn’t need a refresh in places is vital to ensure the ongoing life of your door. Reapplying paints or varnishes can make a real difference to the life and look of your doors. Often sealants will come with suggested time periods within which it should be refreshed, so take a look before you discard your varnishes, sealants, or paints to make sure you know when to diarise a touch-up or two. For day-to-day cleaning, read our complete guide to how to clean internal doors.
To ensure the longevity of your internal doors we’ve created a step by step maintenance guide:
Step 1: Clean
Doors will always benefit from an occasional dust or wipe with a damp cloth. However, what you use to clean your internal door will depend on the material and finish of your door.
Always check the specification of your individual doors before cleaning. It is usually advised not to use anything stronger than mild soapy water.
Note: Do not scrub, excessively rub, soak, or use anything sharp or scratchy to clean your doors as this will remove the treatment layer and damage the material underneath.
Step 2: Re-apply treatment
If your door was supplied unfinished and you had to treat it yourself, it’s always a good idea to give it a refresh every few years.
Note: it is good practice to give the doors a light sanding and then a wipe over before applying the treatment. This removes the old varnish/paint and helps the new coat adhere better.
Step 3: Check door hardware
Once you’ve cleaned and treated your door, it’s time to check the door hardware. These are the moving parts such as rollers, latches, hinges and door handles. They can start to not work as well if they’re not maintained properly. Therefore, they need to be oiled with a light purpose oil to keep them moving smoothly.
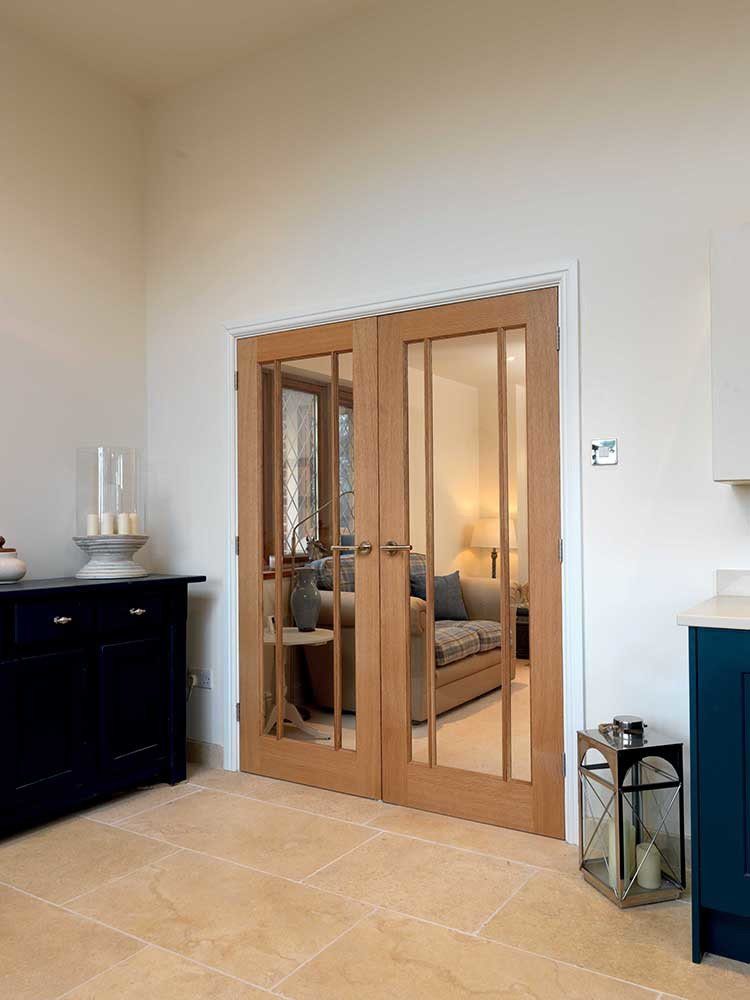
Step 4: Check glazing panels
It’s important that if you have glazed internal doors, to check the glass for any cracks that might make the door unsafe.
If you identify any cracks, this will need to be strengthened or replaced as soon as possible. If the glass is insulated, you’ll also need to check for any condensation between the glass panels. If you see any condensation this could mean there’s a problem with the seals on the door.
You can view our full internal door range online to find the perfect door for your project.