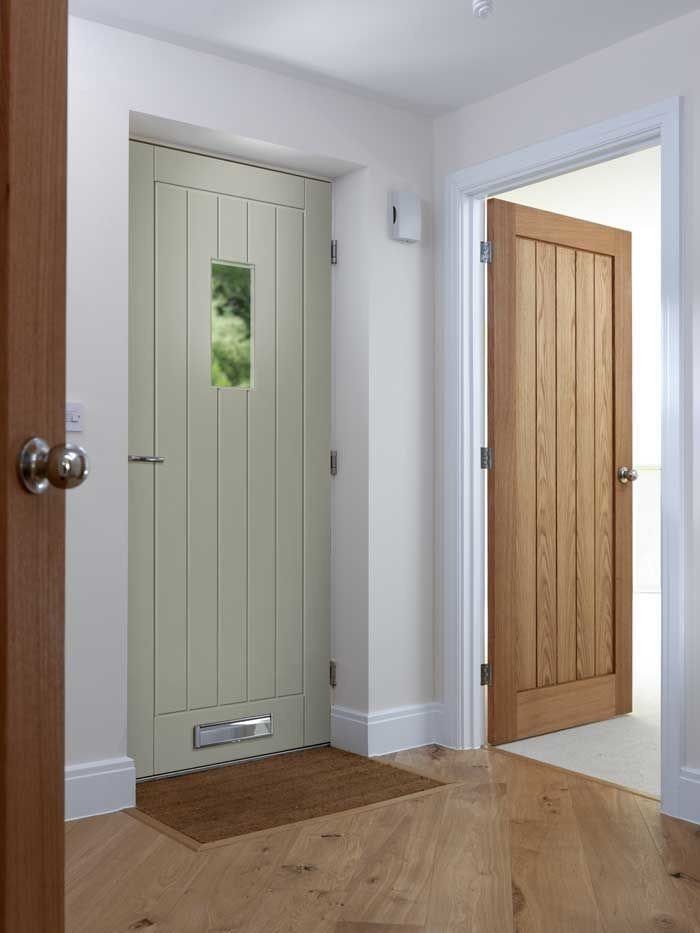
How to Fit an External Door
A Step by Step Guide to Hanging Your External Door
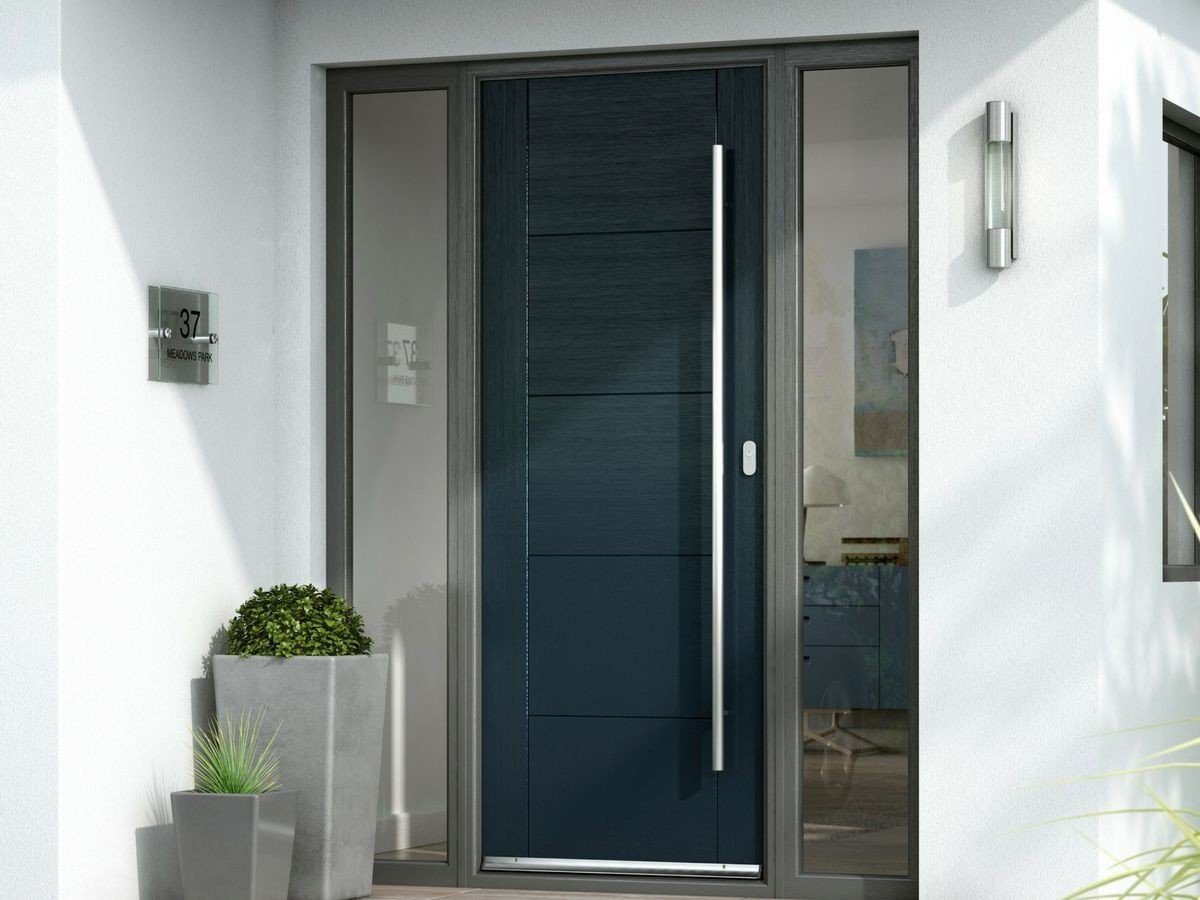
If you’re fitting an oak veneered external door, ideally it should be positioned back from the front of the building. If this is not possible, then to provide some protection, a canopy or open porch should be fitted which extends out at least 1.5 metres. Taking these measures will provide shelter to your front from the rain and hot sun, something that’s particularly important when the exterior door is facing south or southwest.
- External Door Treatment
- Pencil
- Plane
- Saw
- Chisel
- Electric Drill
- Screwdriver
- Tape Measure
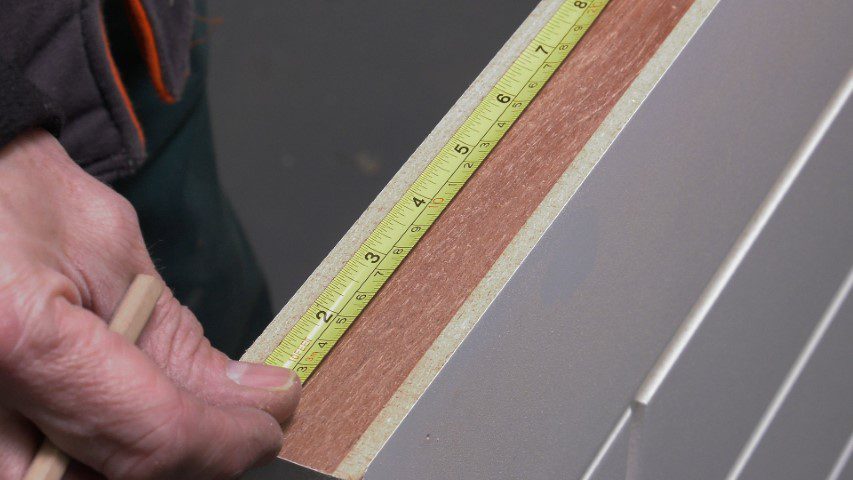
Step 1: Measure Any Door Frame Alterations
Take your door and place it in the frame to accurately measure what, if any, alternations need to be made.
Step 2: Marking Up The Alterations
Mark up the door appropriately, assuming it needs any modifying / trimming. If the amount to be removed is only small, then the best place to trim from is the hanging edge. This will cause the least disruption to your door and, should you make any error, it will be the least visible. If you need to make larger reductions in your door’s size then you need to make sure that you trim equally from both sides. If, once you have measured up, you realise that your door will actually need a great deal trimming from it to make it fit your opening, then please contact us for advice. None of our external doors are designed to be reduced excessively and you could compromise the door’s stability.
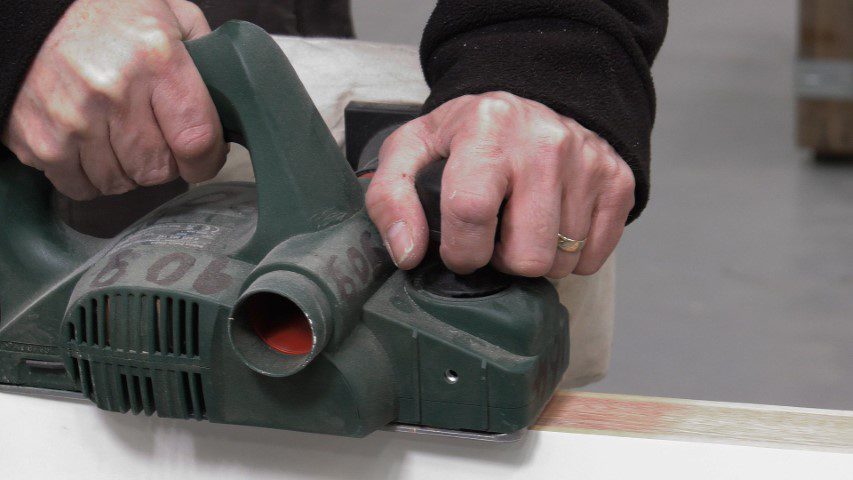
Step 3: Trim/Plane Door
To trim your door, a sharp plane will be adequate for smaller amounts and for larger reductions you will need an appropriate saw. As per our advice above, take care to work equally, evenly and avoid splintering on the top and bottom edges where components join together.
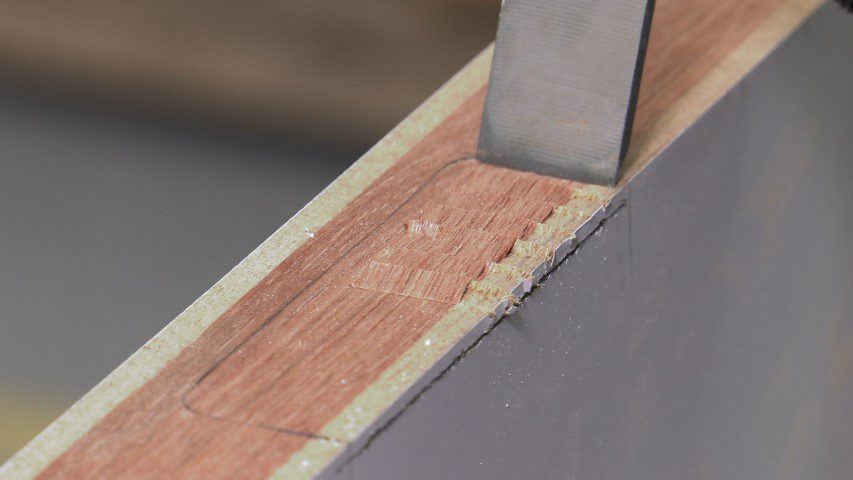
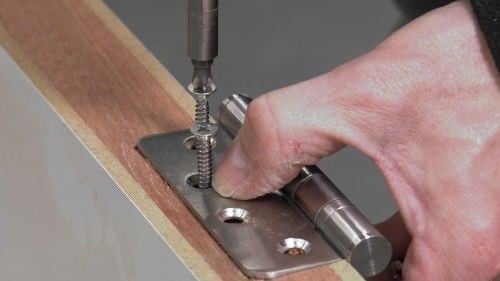
Step 4: Position The Hinges
Once your external door is the correct size, you’ll need to mark the position of the hinges. Always use three good quality, four inch hinges incorporating steel washers. Wooden doors are heavy and washered hinges are essential if you want your door’s fixtures to last. Using a sharp chisel, cut out for the hinge plates in the door edge to correspond with those in the frame.To trim your door, a sharp plane will be adequate for smaller amounts and for larger reductions you will need an appropriate saw. As per our advice above, take care to work equally, evenly and avoid splintering on the top and bottom edges where components join together.
Step 5: Adding The Hinges
Affix the hinges and put the door into the frame, attaching the remaining hinge plate within the corresponding cut out in the frame.
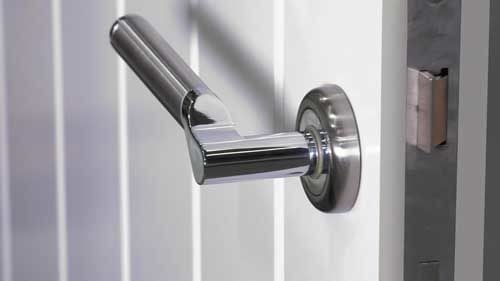
Step 6: Affixing Latches and Locks To Door Edge
Now it’s time to fix the latch or lock mechanism to the door edge. Most locks or latches will be supplied with instructions and/or templates to show you the correct position in which to place them on the door’s edge. In the case of panelled doors, take care to avoid rail joints as this will significantly weaken the joint.
Step 7: Treating External Doors
It’s time to treat your external door now. This is a vital step in the process, especially for an external door as this treatment will be your external door’s only protection against the elements which it will encounter. To choose the correct type of treatment or sealant for your door, make sure you take note of our advice in our external door care section. Before you begin to treat your door, the door should be removed from the frame and all ironmongery should also be removed to enable a full protective treatment to be applied to ALL exposed faces edges and cut-outs. We can’t emphasise enough how important this stage is, particularly with our high quality oak veneered doors.
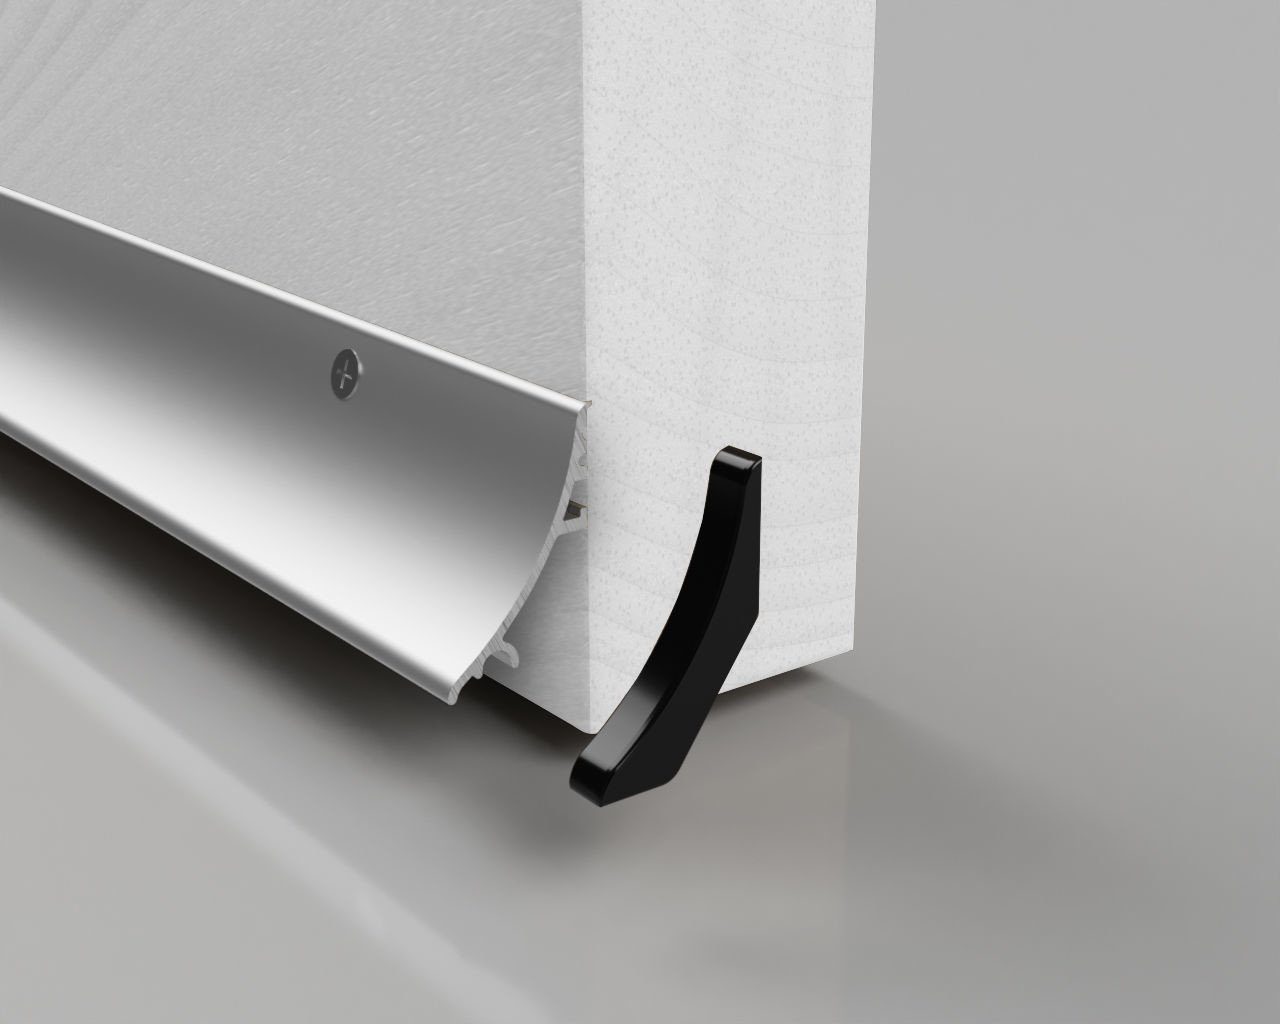
Step 8: Fitting External Accessories
Remember to fit a weather bar to the lower outer edge to prevent moisture damage.
Step 9: Refitting The Ironmongery
Once the treatment has been applied and has dried properly, refit the door and the ironmongery.
CONGRATULATE YOURSELF!
The process of hanging your new external door is now complete – we hope you, and visitors to your home, enjoy it!
Click here to view our range of External Doors