How to Replace Door Hinges Easily
Replacing a door hinge might sound like a small task, but it can make a noticeable difference to how your door looks and functions. Whether your door is sticking, squeaking or simply looking a little tired, fitting new hinges is a simple way to refresh your space without replacing the entire door.
In this guide, we’ll take you through everything you need to know to replace door hinges with ease, from the tools you’ll need to common pitfalls to avoid.
Why you might need to replace door hinges
Replacing door hinges might be necessary for a few different reasons, some being practical and some for aesthetics.
For example, over time, hinges can become worn, squeaky or stiff, which can make doors harder to open and close. In some cases, the door can start to drop or feel loose, which is often caused by damaged or misshapen hinges that no longer support the door properly.
You might also want to replace hinges if you’re redecorating the room and updating the style – swapping out old or tarnished hardware for a new finish can be a simple way of refreshing the door’s appearance.
Tools and materials you’ll need
Before you start replacing your door hinges, it’s a good idea to gather everything you’ll need to make the process straightforward. Here’s a checklist of the basic tools and materials:
- New door hinges (make sure they match the size and type of the existing ones)
- Screws (these typically come with the hinges, but it can be helpful to have extras just in case)
- Screwdriver
- Hammer (useful for gently tapping the hinge into place if needed)
- Utility knife (to score paint or sealant around old hinges)
- Chisel (if the new hinge requires a slightly different recess in the frame or door)
- Tape measure or ruler
- Pencil (for marking screw holes)
- Door wedge or something to support the door while you work
Step-by-step guide to replacing door hinges
Replacing door hinges can be a relatively straightforward job, as long as you follow the right steps.
Support the door
Start by propping the door open and placing a wedge or sturdy support underneath it to stop it from moving or falling once the hinges are removed.
Remove the screws from the existing hinges
Using a screwdriver, unscrew the hinges from the door and the frame. It’s usually best to remove the bottom hinge first, then the top, to keep control of the door’s movement.
Take off the old hinges
Once all screws are out, carefully lift the door away and remove the old hinges. If there’s any paint or sealant holding them in place, you can score around the edges with a utility knife to help remove them.
Position the new hinges
Then, line up the new hinges in the same positions as the old ones. If the new hinges don’t sit perfectly in the existing recesses, you might need to make minor adjustments with a chisel to remove the excess material.
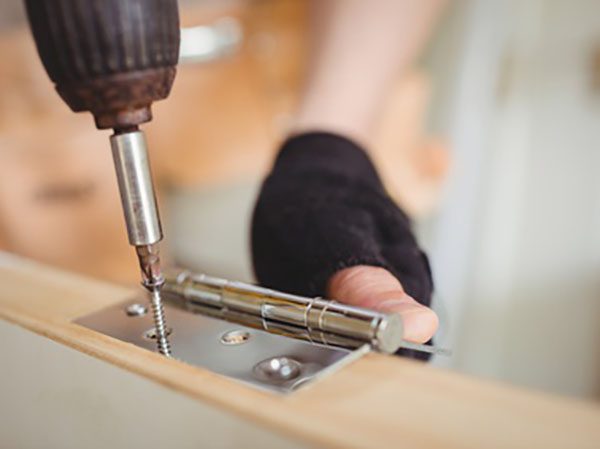
Fix the new hinges to the door
Next, attach the hinges to the door, making sure they’re aligned correctly and flush with the surface. You can use a pencil to mark new pilot holes if required, then screw them into place.
Rehang the door
With the help of another person if needed, lift the door back into position and screw the hinges into the frame. It’s usually easiest to start with the top hinge to hold the weight, then secure the bottom.
Check the fit and make adjustments
Once the door is rehung, open and close it a few times to check it operates smoothly. If it sticks or doesn’t sit quite right, you might need to adjust the screws slightly or fine-tune the hinge recesses until the fit is correct.
Troubleshooting common issues
Replacing door hinges is a manageable task, but there are a few common mistakes that can cause problems if you’re not careful. One of the most frequent issues is failing to support the door properly before you remove the hinges. Without adequate support, the door can shift or fall, which will make the job more difficult as well as potentially damaging the door or frame.
Another common mistake is not checking that the new hinges match the size and type of the originals. Even slight differences in size or screw hole spacing can result in poor alignment or instability. It’s also important to avoid overtightening the screws, as this can strip the holes or damage the wood, making the hinges less secure.
Many people overlook the importance of precise positioning – if the hinges aren’t aligned correctly, the door probably won’t be able to open or close smoothly. So, you should make sure to take the time to get your replacement hinges in the right place.
Finally, skipping pilot holes or using the wrong type of screws can make installation harder and reduce the strength of the fixings. You should take the time to measure accurately and use the right tools to ensure a neat, secure result.
JB Kind has a huge range of interior doors in a variety of styles, colours, and finishes. Download our brochure or contact us to find out more.